
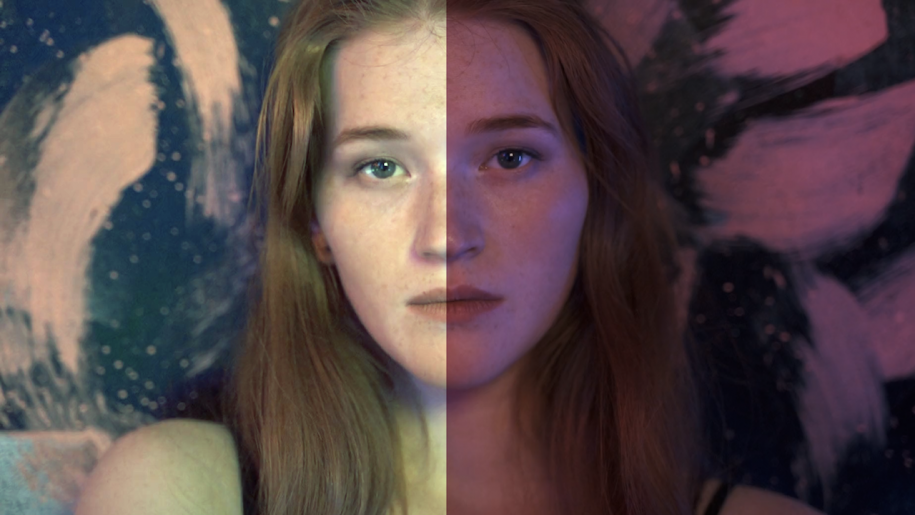
Automatic color correction aims to reduce unwanted exposure and colour differences. Creative color grading shapes the image to serve the story. The distinction is the intended result: a balanced starting point versus a finished visual treatment. Automatic software can assist either task, but the word automatic does not explain what a tool actually changes.
Technical correction starts with the recording
First establish in your grading software how the footage should be interpreted: input colour space, transfer function and data levels. A wrong input transform can look like a camera error. Correct that interpretation before trying to remove the apparent cast with a balancing tool.
Then judge exposure, neutral objects and skin in context. A white shirt under warm practical light need not become neutral white. Technical correction removes an unwanted difference; it should not automatically erase the lighting decision.
Creative grading starts with intent
A grade can deliberately make shadows cool, reduce saturation or preserve a warm interior against a cooler exterior. It also manages relationships across edits. Applying the same LUT to every clip does not guarantee a consistent scene when the underlying shots differ.
Correction, a look and shot matching are separate decisions
Balancing one shot is not the same as matching a second shot to a reference. A look is a chosen treatment, while matching is a judgement about continuity. A tool may offer more than one function; its important you establish what is really happening when you use that tool – color correction, or automatic creative color grading.
Where ColorGradr fits
ColorGradr is an OFX plugin for automatic exposure and colour-bias correction inside supported hosts. Its technical balancing role is to prepare difficult material for further work. The product also includes look controls, but these should not be confused with the automatic Fix. Review the Fix first, then decide whether to add a creative treatment.
A practical order of operations
- Confirm source interpretation and the project colour pipeline.
- Identify an unwanted capture difference on a representative frame.
- Compare an automatic correction with a manual baseline.
- Check waveform, RGB parade and the actual subject; scopes inform the decision rather than making it.
- Play through the shot for lighting changes and compare adjacent edits.
- Develop the look and finish shot matching.
When automatic results need intervention
Large saturated objects, stage lighting and mixed illuminants can make a single global correction unsuitable. Clipped channels and missing highlight detail cannot be reconstructed by a balance adjustment. Preserve the original, use bypass comparisons and reduce or remove a correction that changes intended colour.
How to choose a tool
Ask what it analyses, what controls remain editable and whether it offers any reference-based matching. Do not infer machine learning from automatic operation, or a completed grade from a one-click demonstration. Evaluate your own representative footage.
Try the workflow on your footage
Review the ColorGradr download options, host tutorials and support notes before using a new tool in production.